A Beginner’s Guide to Choosing the Right Book Binding and Print Layouts
Publishing a booklet, training manual, catalog, or independent book requires making crucial physical production decisions long before the printing process begins. While authors and designers often focus heavily on cover artwork and text content, the structural format of the physical book determines how durable, functional, and user-friendly the final product will be. Choosing an incompatible binding style or improper page margins can result in readable text disappearing into the center spine, pages falling out over time, or production costs escalating unexpectedly.
Translating a digital manuscript into a finished physical volume involves evaluating paper thickness, page counts, spine widths, and mechanical binding methods. Different binding styles serve vastly different operational needs, ranging from temporary event programs to durable corporate handbooks meant to withstand daily use. Content creators often reference technical guides from production specialists like AlphaGraphics Charleston to understand how page counts and paper weights dictate physical assembly options. Understanding how structural binding options work allows self-publishers and corporate project managers to create professional documents that function reliably for readers.
Understanding the Primary Types of Book Binding
Selecting the correct binding method depends on three main factors: overall page count, target budget, and how readers will hold the finished document.
1. Perfect Binding (Softcover Books)
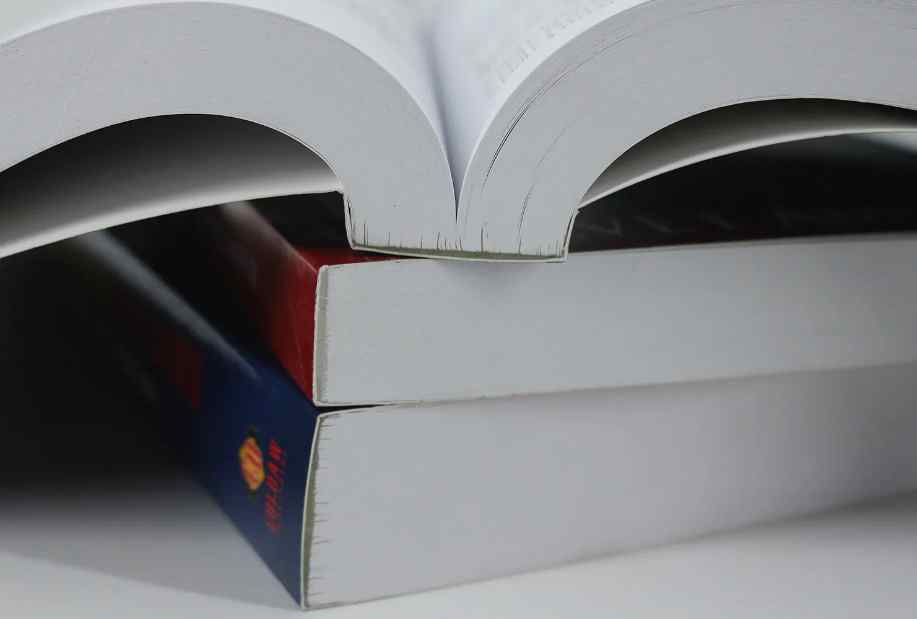
Perfect binding is the standard format used for commercial paperbacks, thick catalogs, and multi-page corporate reports. Page blocks are trimmed, aligned, and glued securely to a flexible cardstock cover along a square spine.
- Best suited for: Books with 40 pages or more, such as novels, manuals, and annual reports.
- Key advantages: Delivers a clean, bookstore-ready visual finish with a printable spine.
- Practical limitations: Pages do not lay flat naturally on a desk unless held down open by the reader.
2. Saddle Stitching (Stapled Booklets)
Saddle stitching is one of the most economical and straightforward binding techniques available. Folded sheets of paper are gathered together and secured through the center fold using strong wire staples.
- Best suited for: Thin booklets, event guides, magazines, and event schedules under 64 total pages.
- Key advantages: Cost-effective, lightweight, and allows the booklet to lie relatively flat when open.
- Practical limitations: Page counts must always be formatted in multiples of four due to how folded sheets are nested.
3. Spiral and Wire-O Binding
Comb, plastic spiral, and metal Wire-O binding use prepunched holes along the spine edge held together by flexible rings or continuous wire coils.
- Best suited for: Technical manuals, cookbooks, workbooks, calendars, and presentation decks.
- Key advantages: Documents lay 100 percent flat when open and can fold backwards 360 degrees without tearing pages.
- Practical limitations: Features an exposed mechanical spine that lacks a flat printable surface for title text.
Essential Page Prep and Layout Guidelines
Setting up a digital manuscript file correctly prevents common visual defects during trimming and binding operations.
Margin and Gutter Planning
The gutter is the extra margin space added to the inside edge of a page block where sheets fold into the spine.
- Allow for spine creep: In saddle-stitched booklets, interior pages push outward slightly further than outer pages. Allow generous outer margins to avoid trimming text off the edges.
- Expand gutter space: For perfect-bound publications, expand inside margins by at least 0.25 to 0.5 inches so text does not curve downward into the tight glued spine edge where it becomes hard to read.
Paper Weight and Finish Selection
Paper stock selection alters both the physical thickness of your document and how images appear across printed pages.
- Text paper stock: Standard 60 lb to 80 lb uncoated paper works best for text-heavy interiors to prevent glare, while coated gloss paper enhances photo clarity in catalogs.
- Cover paper stock: Always choose a heavier cover weight (such as 80 lb or 100 lb cardstock) to protect interior pages from wear and bending over time.
Step-by-Step Checklist for Preparing Your Book File
Following a structured preparation routine eliminates formatting errors before sending files to production.
- Confirm final page count: Ensure saddle-stitched projects divide evenly by four. Adjust content or add blank note pages if needed.
- Convert color formats: Change all digital images from screen-based RGB color modes to print-ready CMYK formats to maintain accurate color rendering.
- Set resolution thresholds: Verify that all embedded photography and illustrations meet or exceed 300 DPI at full layout size.
- Include bleed margins: Extend background colors and full-page artwork 0.125 inches past the final trim edges to avoid unwanted white borders after cutting.
Evaluating the Final Proof Before Production
Before running a complete production batch, always review a physical printed proof. Flip through the sample to test page rotation order, inspect spine alignment, verify visual contrast between background colors and text fonts, and test how easily the document opens. Taking the time to evaluate a physical sample ensures your finished book delivers a seamless, professional reading experience to your audience.